Step 1
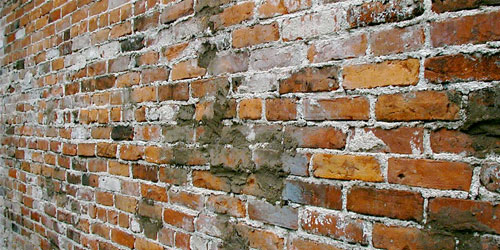
Find a picture of a brick wall or a building that you’d like to use as a background. The one I used can bedownloaded here. Create a new document in Photoshop at the size you’d like and place the bricks on the top layer.
Step 2
Step 3
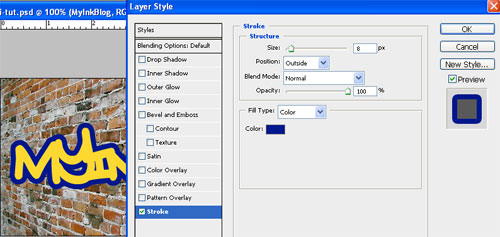
Add a thick stroke to your text. Open up the layer style window by double-clicking next to the layer name.
Step 4
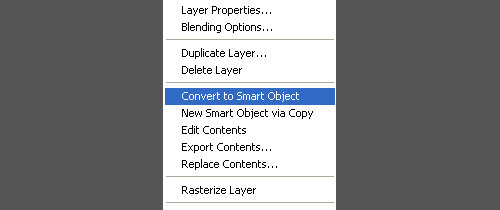
We need to alter the perspective of this text to make it work with this wall. Right click on the text layer and choose Convert to a Smart Object from the options that appear.
Step 5
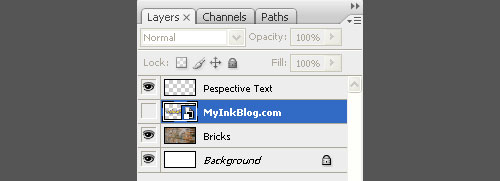
Press ctrl, click on the thumbnail next to your text layer’s name, this will select that layer, hit ‘ctrl, c’ to copy that layer to the clipboard. Now hide the layer by clicking on the eye next to the layer. Hit ‘ctrl, d’ to deselect your selection. Click to add a new layer to the top and name it ‘perspective text’ or something of that nature. This is were you will place your text after using vanishing point.
Step 6
With the ‘perspective text’ layer selected click Filter->Vanishing Point. With the create plane tool selected, click for the four points of the perspective. Use the brick lines to help line things up. Also make sure the grid is large enough to hold all your text.

Step 7
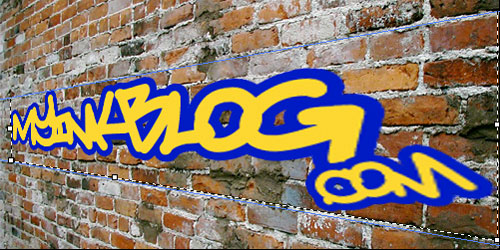
Hit ‘ctrl, v’ to paste in your text. Now hit ‘ctrl, t’ and transform your text into place. When you have it the way you like click OK.
Step 8
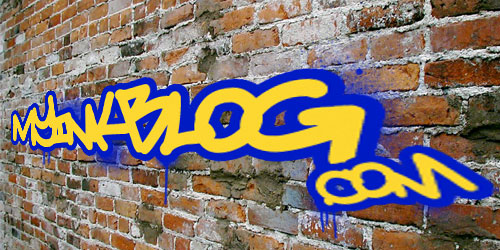
Make a new layer and place it behind your text layer. Then grab a splatter brush and use the same color as the stroke on your text. I used these brushes, for this effect. Dab some paint so it drips a little below the text and add some small splatters around.
Step 9
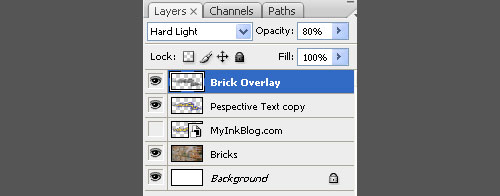
Merge the splatters and the text layers by highlighting both the layers, right clicking on one and choosing ‘merge layers. Ctrl, click on the thumbnail in the layer palette next to the name of the newly merged layer to create a selection of just the text and splatters. Now click on the bricks layer, and hit ‘ctrl, c’ to copy just the bricks that are below the text and splatters that you have selected. Create a new layer at the very top of the palette and name it something like ‘brick overlay’. Press ‘ctrl, v’ to paste the bricks on this new layer. Press‘ctrl, shift, u’ to desaturate this layer. Change the blend mode to hard light and the opacity to 80%.
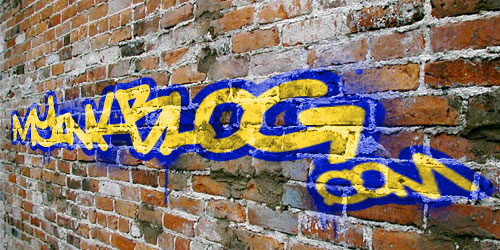
Step 10
Add a layer mask to the ‘prespective text’ layer. Now grab some of your favorite grunge brushes. I usedthese brushes from Bittbox. Change your foreground color to black and with the grunge brushes paint away some of the mask revealing some of the brick layer below. Be subtle with this step.
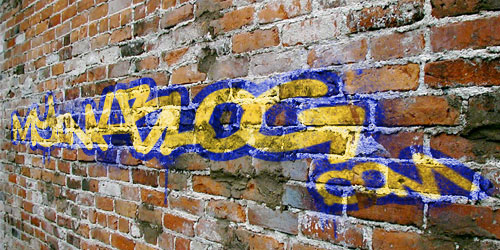
Step 11
The effect is pretty sick already. Let’s just add a little more illusion of depth. Make a new layer at the top and name it ’shadows’. Grab the gradient tool make a radial gradient go from gray to white. Click on the right side and drag to the left, creating the gradient. Change the blend mode to linear burn and the opacity to 75%.
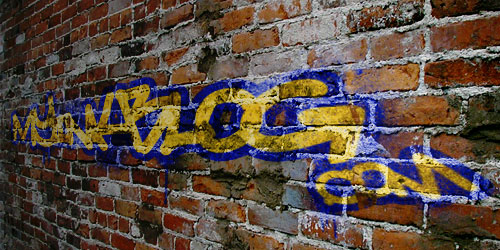
This is a really effective and fairly simple to create text effect. I hope you can find some use for this in your own projects. If you have any questions or comments, don’t hesitate to use the comment form below.
Comentarios